7 Storefront Sill & End Dam Details Every Crew Should Know
Leaks in a storefront system often start at the sill, not the glass.
And while experienced crews know how to “seal the end dam,” the manufacturer’s instructions are full of small, high-impact details that make the difference between a dry system and a callback.
Whether you’re training a new PM, shop fabricator, or installer, here are:
The seven often-overlooked points straight from the install manual
with the “why” behind each step so even seasoned pros will take notice.

Click image to enlarge.
Click image to enlarge.
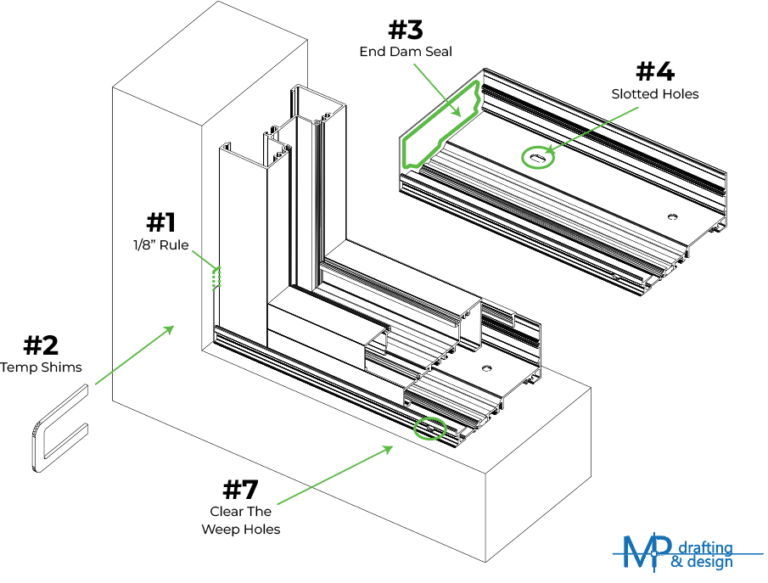
1. The 1/8″ Rule Creates Room to Seal the End Dam
The sub-sill should be 1/8″ wider than the frame on each side , total of 1/4″ over frame width.
That extra clearance isn’t just for fit , it gives you the space to apply sealant along the entire edge of the end dam so the bead isn’t squeezed out or starved when the frame goes in. It also preserves thermal expansion clearance so the sill won’t bind or buckle.
2. Temporary Shims at the Jamb Protect the End Dam
Place temporary shims tight against the end dam at the jamb when setting frames.
This keeps the dam from shifting or breaking its seal while the frame is lowered onto the sill. Remove the shims only after the frame is anchored and secure.
3. Seal All the Way Around the End Dam
Sealant must create an unbroken bead around the entire perimeter of the end dam’s mating surfaces.
Even a small gap in this seal path can become a hidden water bypass.
4. Slotted Holes Are Not Optional
Many of the sub-sill anchor holes must be slotted as shown in the installation instructions.
These allow for thermal movement and construction tolerances , without them, expansion can stress the sill, break seals, or distort the frame.
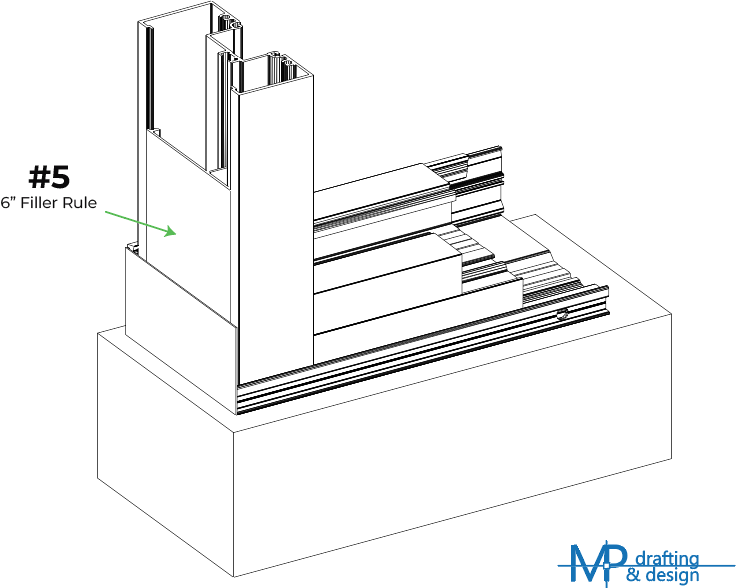
5. The 6″ Filler Rule for End Dam Seals
A 6″ piece of filler is required at the bottom of the jamb to tie the frame edge seal directly into the inside of the end dam.
Without it, the joint between the jamb and end dam can become a bypass point for water. If you use filler on the entire jamb, you are already in compliance.
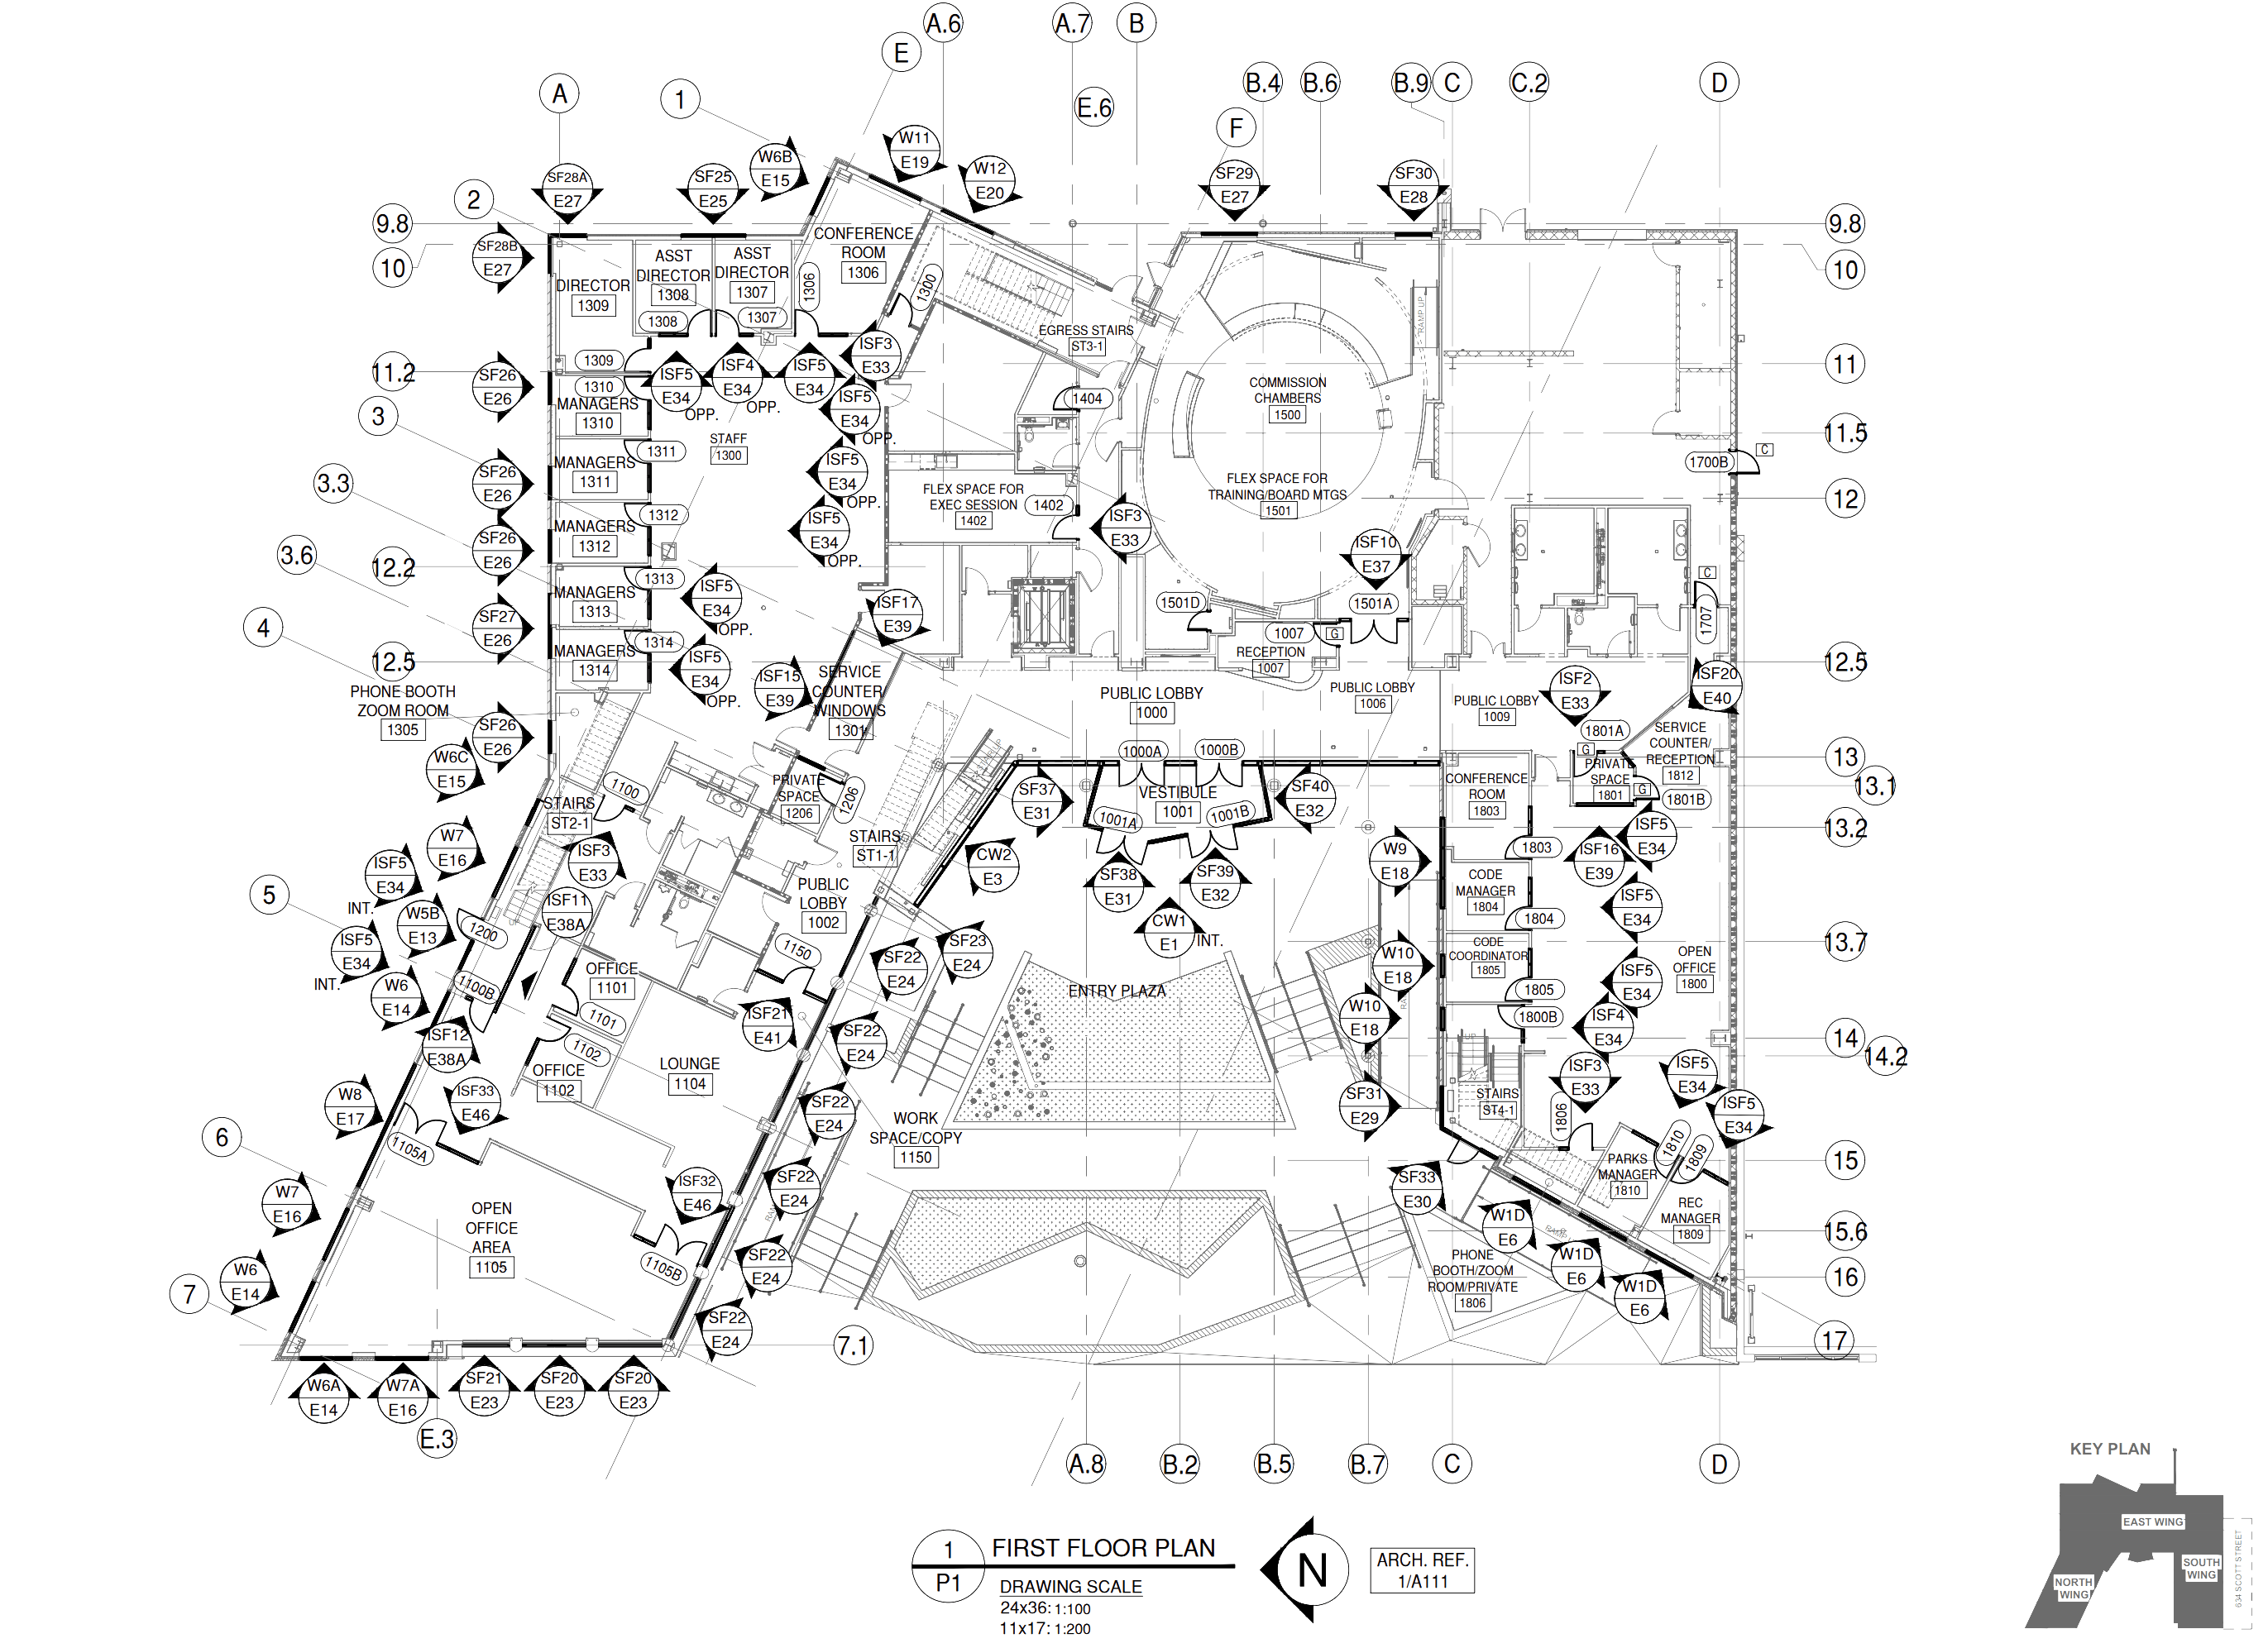
6. Splice Where It’s Safe
Never locate a sill splice directly under a vertical mullion.
Place it at the centerline of a D.L.O., where it’s easier to seal and less exposed to water flow from above.
7. Keep Weep Holes Clear , Through to Punch List
Weep holes can be plugged by sealant during perimeter sealing or even by other contractors after your frame is installed. Always check they’re open before glazing and again before turnover.
Bottom line:
These aren’t “extra care” steps , they’re engineered requirements that most leaks trace back to when skipped.
MP Drafting builds these into your shop drawings so your crew never has to guess in the field.
Want to see how we do it?
Request a sample drawing or set up a kickoff call with our team.